How to Make Your Own Talking Objects and Characters
Using Animatron to create your own talking characters, critters and inanimate objects has never been easier! Any combination of imported media, pre-animated drag-and-drop marketplace assets and a little creative dialogue can go a long way when whipping up your own chatty composition of characters! Let’s begin with the basics…
Choosing a Concept:
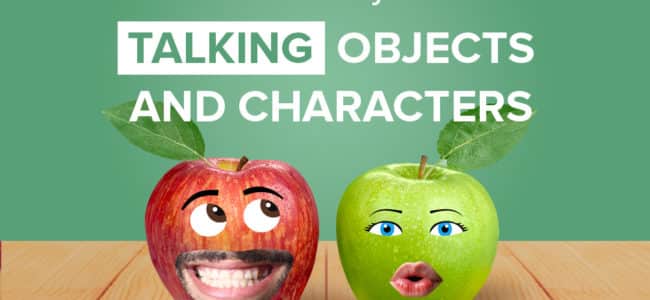
First ask yourself, “What kind of talking character am I creating?” There are a few creative concepts to consider, even before deciding on images and/or video. In the talking cat and apple examples, video recordings of someone’s mouth actually speaking the dialogue, was masked out and superimposed over the top of the cat and apple pictures. In these cases, it is easier to both mask out and overlay the video onto the still images, since any motion added to the objects/images can easily be matched and synced to the mouth video.
Other basic examples of this can be achieved by simply showing an animated character’s mouth flapping up and down with some voiceover added to imply that the character is talking. For a more favorable version of an implied character voiceover, check out this cool walkthrough video explaining how to create/draw complex and more believable mouth shapes for added impact to dialogue audio.
The most complex concept is “Video-over-Video” which generally requires a more time-consuming and tedious process to achieve videos like this one.
Record video of your mouth:
Using the cat and apple examples as a basis for this tutorial, let’s look at how to record your own mouth.
The easiest way is to use your built-in camera from your computer.
- On Mac computers, use iMovie or QuickTime Player and export your finished video as an MP4.
- On PC computers, use Windows MovieMaker and export your finished video as an MP4.
If you don’t happen to have a camera on your computer, use the front-facing camera on your phone and keep your mouth centered while recording video. The easiest way to do this is to mount your phone on a tripod or lean it on a stable, elevated surface, so it stays steady while recording.

Then, be sure to center and steady your face in frame of the camera, which can be done by resting your elbows on a flat, even surface and holding your head steady with your hands resting on your cheekbones.
 (resting hands on your jaw may not allow you to make certain mouth shapes, so make sure to avoid this for better results)
In any case, be sure to give your mouth some space on all 4 sides (especially above and below lips) while framing it in the camera’s view. This will provide some buffer space when you mask out the video, in the next step.

Masking your mouth video in the Editor:
Now, to frame your mouth video you can simply draw an oval shape over the mouth section of the video and set that oval shape to be the videos “Mask”. Watch this quick video to see how it’s done!
Now that you have a masked mouth video, you can group the two layers together into one Movie Clip layer and line it up with the position of the image it’s meant to overlap.
There you have it! You’ve just created your very own talking creation and discovered a new way to animate your characters!
As always, make sure to share your videos on social media and get your friends to join in on the fun!